
Having a structured and well-defined data model is crucial for success in project management and data organization. SmartsheetGov’s powerful column type feature allows you to define the nature and behavior of your data, ensuring consistency, accuracy, and ease of use. In this edition of the Smartsheet Learning Series, we’ll explore the process of creating column types, empowering you to build a robust and efficient data structure tailored to your specific needs.
The Importance of Column Types
Column types play a vital role in shaping the way data is entered, displayed, and processed within Smartsheet. By defining column types, you can:
- Enforce Data Consistency: Specific column types ensure that data is entered in the correct format, reducing errors and maintaining data integrity.
- Enable Advanced Functionality: Certain column types unlock advanced features like formulas, conditional formatting, and automation, enhancing your productivity and data analysis capabilities.
- Improve User Experience: Well-defined column types provide clear guidance to users, streamlining data entry and reducing confusion.
- Enhance Data Organization: With a structured data model, it becomes easier to sort, filter, and analyze your information effectively.
Step-by-Step Guide to Creating Column Types in Smartsheet
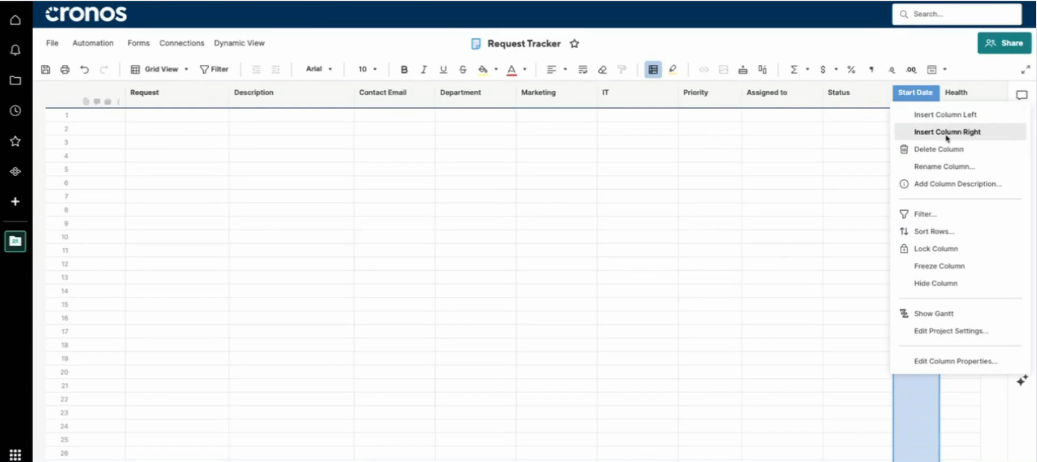
Step 1: Access Column Options
Navigate to your Smartsheet and select the column header where you want to create a new column type. Right-click to open the context menu, and choose “Insert Column to the Right” or “Insert Column to the Left.”
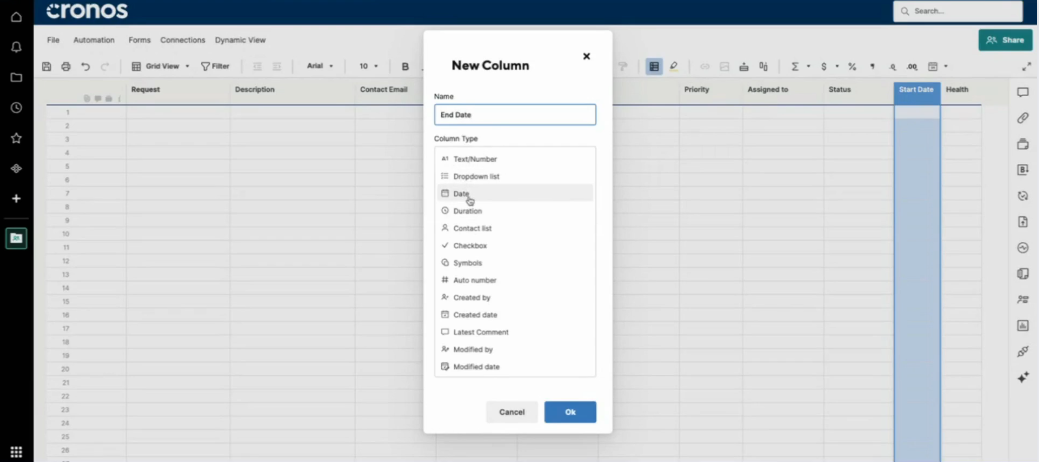
Step 2: Define Column Settings
A prompt will appear, allowing you to name your column and select the desired column type. Smartsheet offers a wide range of column types, including text, number, date, checkbox, drop-down list, and more.
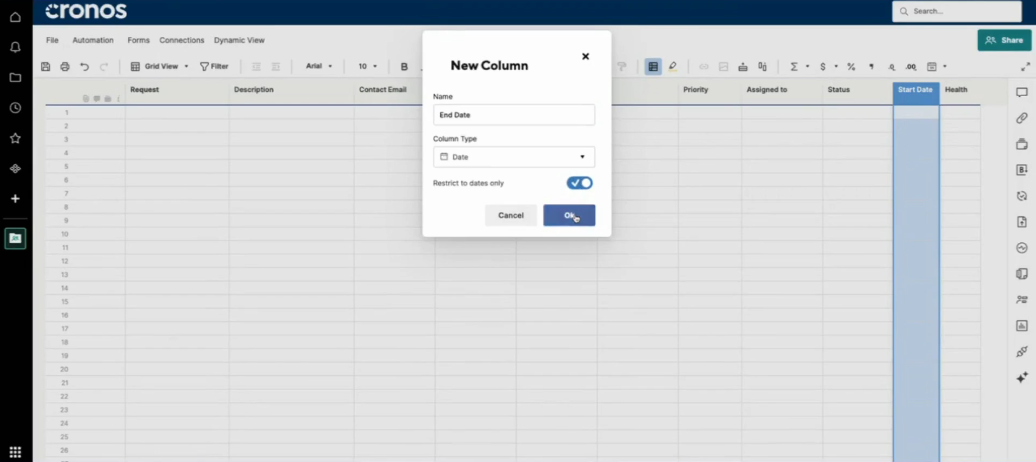
Step 3: Customize Column Options
Within the prompt, you can further customize the column settings according to your preferences. These options may include formatting, validation rules, default values, or conditional formatting, depending on the chosen column type.
Step 4: Existing Column Modifications
If you need to modify an existing column’s type or settings, simply double-click the column header. This will open the column properties dialog, where you can adjust the settings as needed.

By leveraging Smartsheet’s column type feature, you can unlock a new level of data organization and control, ensuring consistency, accuracy, and efficiency in your project management processes. Follow the simple steps outlined in this blog post, and take control of your data structure, streamlining your workflows and enhancing collaboration across your team.
For more Smartsheet tips and tricks, be sure to check out our Smartsheet Learning Series at www.cronoscg.com or follow us on social media.